RV Tire Safety Checklist
- Published -
Hitting the road? Make sure to check each of the following items to make sure you RV is road ready!
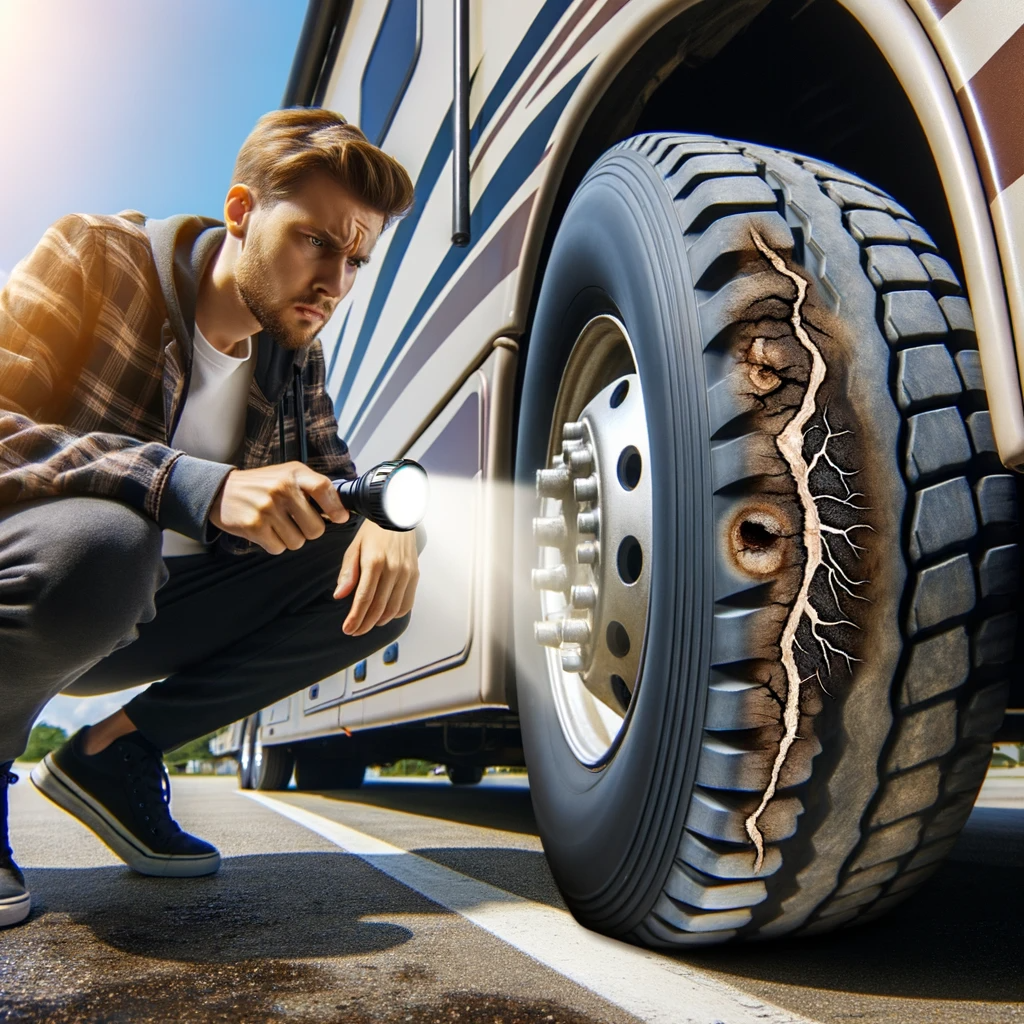
Visual Inspection: Start with a thorough visual inspection of your tires. Check for any visible damage like cuts, punctures, bulges, or cracks. Uneven wear patterns are also a red flag, as they might indicate alignment issues. Always be on the lookout for foreign objects like nails or stones embedded in the tread.

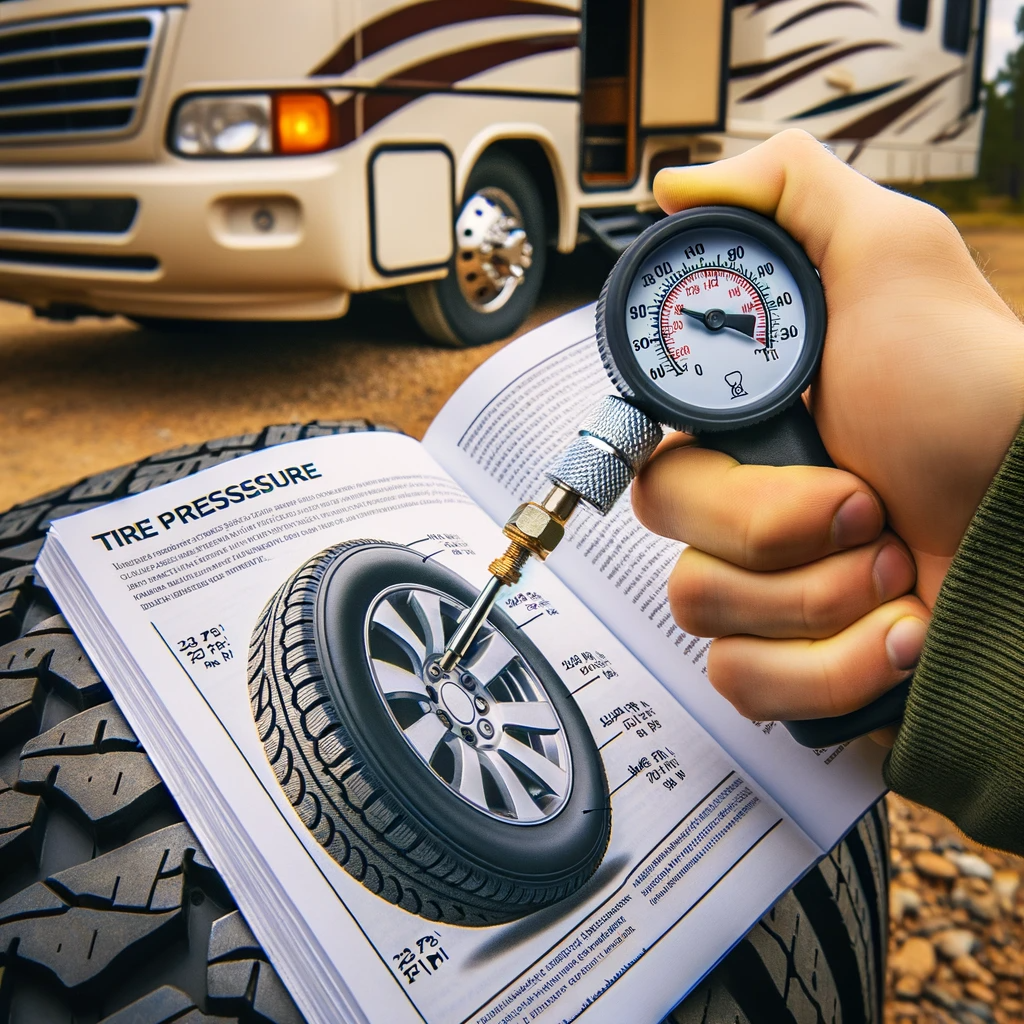
Tire Pressure: It’s crucial to maintain the right tire pressure for safe travels. Use a reliable tire pressure gauge to measure, and adjust the pressure to the manufacturer’s recommended PSI. This information is typically found in the RV’s owner manual or on a sticker inside the driver’s door. Remember, tire pressure can fluctuate with temperature changes, so it’s best to check when tires are cold. A quick way to check your tires, as well as to view tire pressure and temperature data while driving, use a TireMinder monitoring system.
Tread Depth: Tread depth is a good indicator of tire health. Use a tread depth gauge or the penny test to ensure you have sufficient tread. If Lincoln’s head is covered when you insert a penny into the tread, you have more than 2/32 of an inch remaining.
Tire Age: Rubber degrades over time, so even if a tire looks good, its age matters. Check the manufacturing date on the sidewall, typically a 4-digit code. Tires older than 5-7 years should be professionally inspected, even if they appear in good condition.
Valve Stems and Caps: Ensure the valve stems are free from cracks or damage. All valve caps should be present and tightly secured. For added durability, consider opting for metal valve stems.
Tire Rotation and Alignment: Depending on how much you’ve traveled, consider if it’s time for a tire rotation. Signs of misalignment, like uneven wear on one side of a tire, should be addressed promptly.
Spare Tire: The spare tire is often overlooked, but it’s just as important. Check its condition, pressure, and manufacturing date. Also, make sure you’re equipped with the necessary tools, such as a jack and lug wrench, to change a tire if needed.
Wheel Lug Nuts: All lug nuts should be present and torqued to the manufacturer’s specifications. Check for any signs of rust or corrosion.
Tire Storage: If your RV has been parked for an extended period, inspect for flat spots on the tires. Protecting tires with RV covers can help shield them from UV damage when stationary.

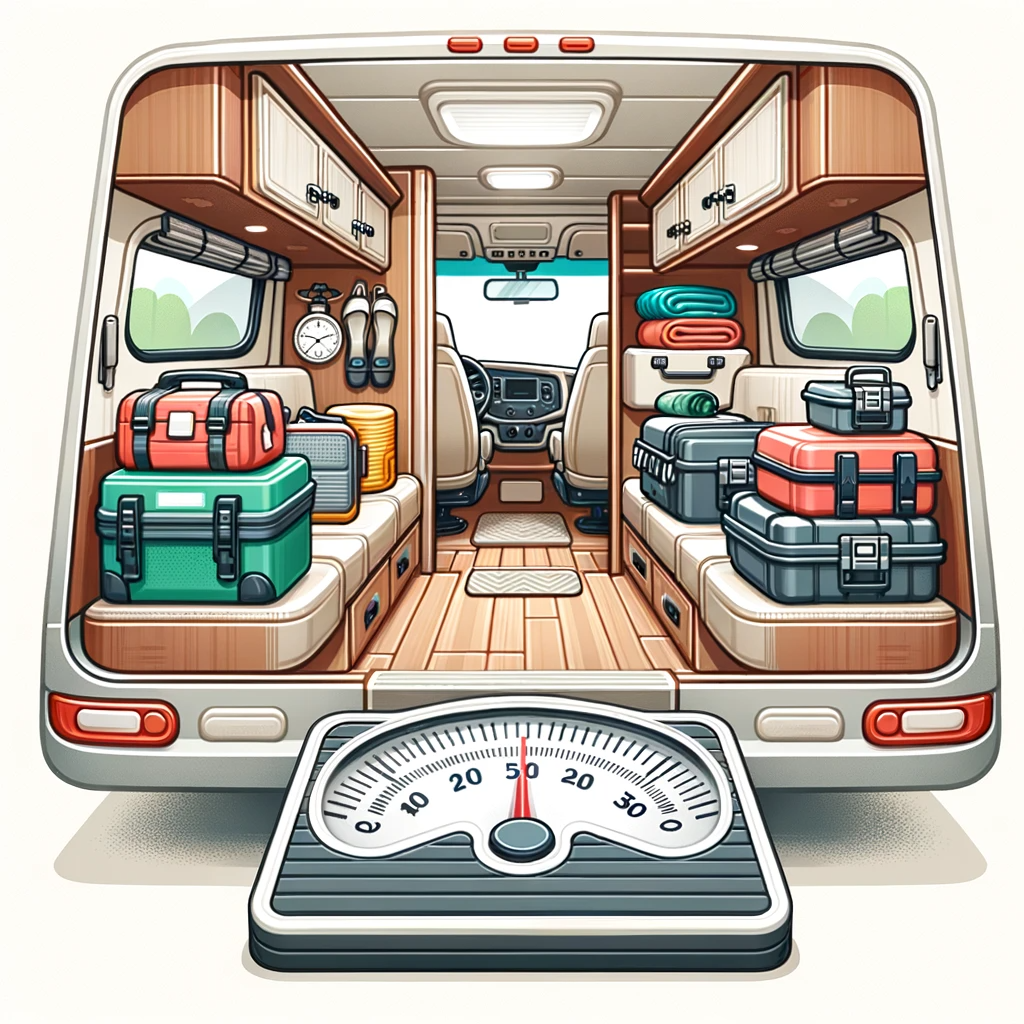
Weight Distribution: Distribute the RV’s weight evenly to prevent undue stress on any single tire. Overloading can lead to tire failures, so always stay within the RV’s weight rating.
Vibration or Wobble: Unusual vibrations or wobbles while driving could indicate tire or wheel balance issues. Address any such irregularities immediately.
Tire Cleaning: Regularly cleaning the tires can extend their lifespan. Use mild soap and water to get rid of road grime and brake dust. Refrain from using petroleum-based products.
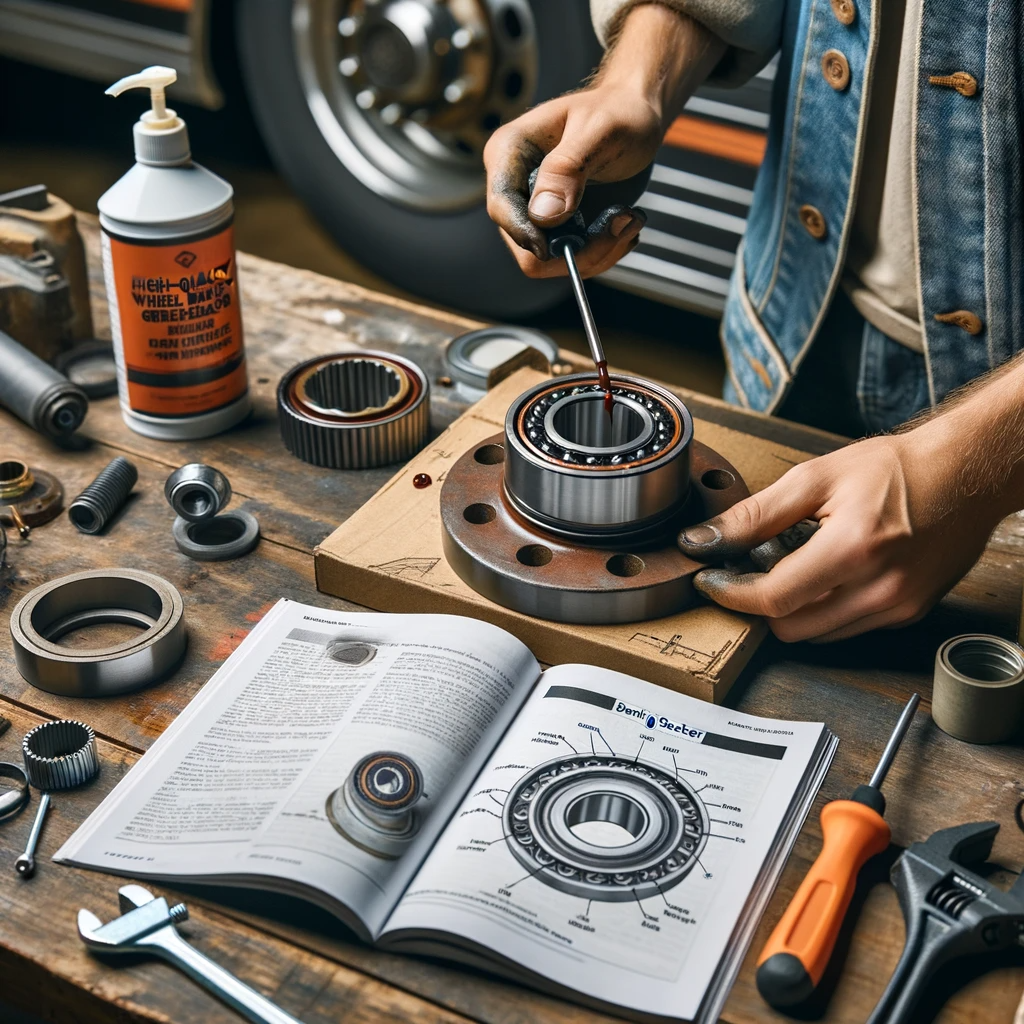
Wheel Bearings Maintenance: Properly greased wheel bearings are crucial. Begin by visually inspecting the bearings for signs of wear or corrosion. Clean bearings if they appear dirty and ensure they’re packed with high-quality, high-temperature grease. Adjust the bearings so the wheels spin freely without drag. After maintenance, a test drive can help identify any overlooked issues.
By diligently following this checklist, RVers can ensure their tires and wheels are in optimal condition for the journey ahead. Safe travels!


